How to configure Syntphony?
Syntphony offers a wide range of functionalities and components, all of which are highly configurable and parameterizable to cater to the specific needs of each client. Configuration in Syntphony primarily occurs through its settings menu or the properties panel of the respective component.
Functionalities
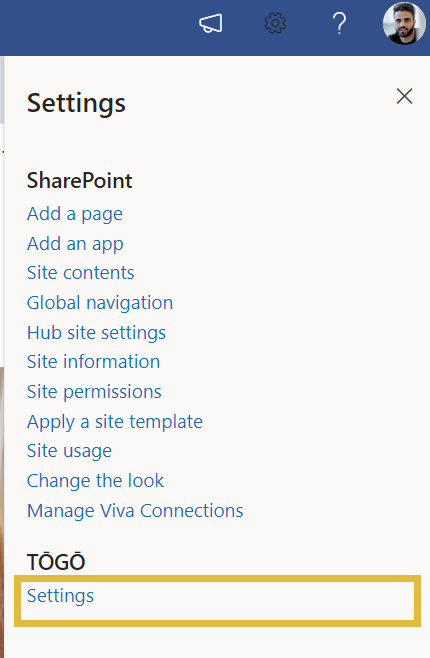
Syntphony’s functionalities are set up using the “Settings” panel, where functionalities are neatly categorized based on their scope of influence: whether it pertains to a specific page, community, or the entire tenant. Notably, the option to configure at the tenant level is exclusively accessible to designated “Syntphony Admins,” ensuring a controlled environment.
Access to this panel is conveniently integrated within the SharePoint settings, streamlining the configuration process. Community owners also enjoy a designated space for configuration options within the “This community” scope, affording them a degree of autonomy.
While many of the functionalities lend themselves to configuration via the user-friendly interface, more advanced features, such as specialized “add-ons,” require customization through a JSON file. For comprehensive guidance on configuring each functionality, detailed instructions can be found in their respective sections within the documentation. This flexibility empowers organizations to fine-tune Syntphony to align seamlessly with their operational requirements and strategic objectives.
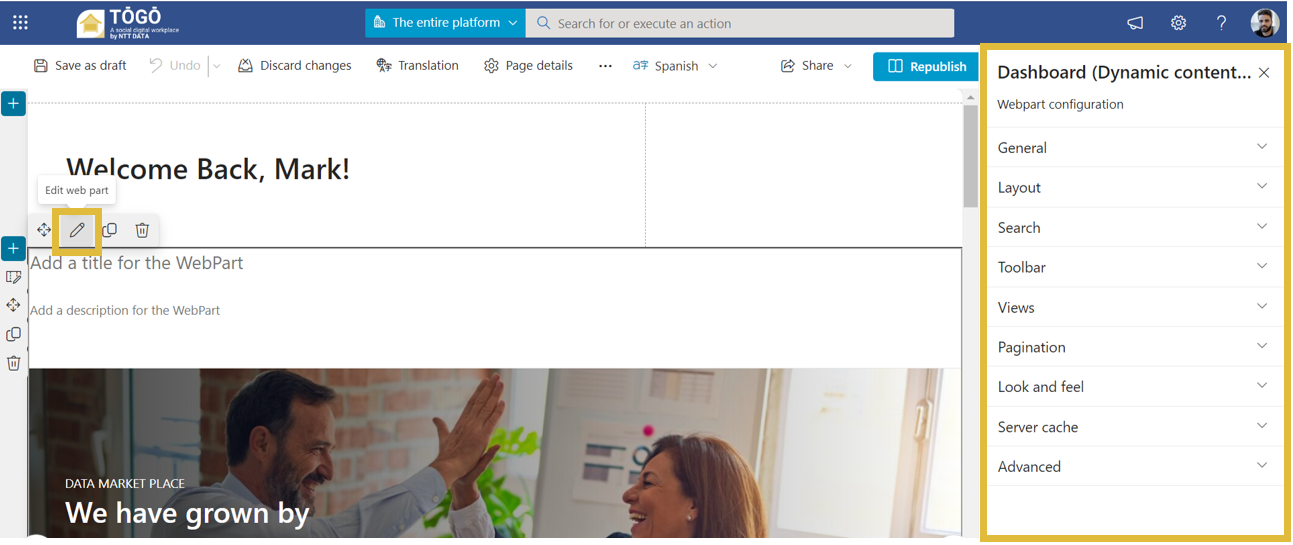
Web Components (Web Parts)
All web components are configured using the properties panel provided by the web part itself. Customizing a web part necessitates editing the SharePoint page, a task reserved for administrators or contributors. To access to edit mode of a page, it’s necessary to click on the page’s pencil icon on the top bar, and then clicks on the pencil icon associated with the desired web component.