Related Tags
Audience: This article is intended for community owners
Syntphony allows displaying the related tags associated with content using a specific webpart. Adding it is simply a matter of, like with the rest of the webparts, clicking the plus symbol button that appears when hovering over a section. Once the component library unfolds, locate the Related tags webpart and click on it.
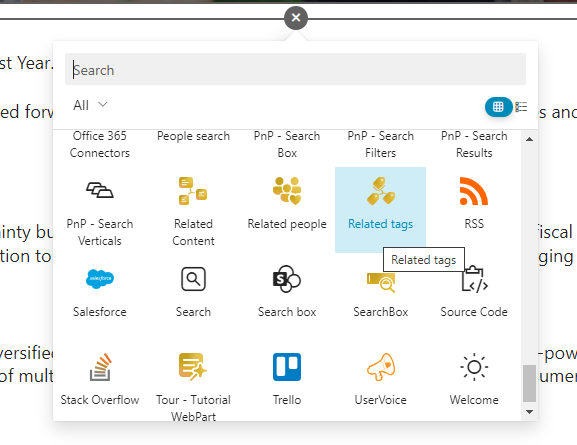
To configure it, click on the pencil icon, and you will access the available options:
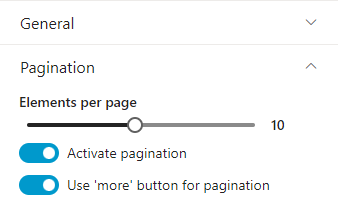
1. General
This webpart has minimal configuration: it will directly display all the tags assigned to the content. In the general section, you can enable pagination or use the “more” button.
From the generated list, you can follow different tags, which will then appear in your activity center for reviewing their activity.

Additionally, by clicking on the tag, you can access a page with a dashboard containing all the content associated with that tag. Once in the dashboard, you can click on the card to view the tag and create new ones.
If you are an admin, you can also check the available tags for the product in the Term Store Admin Center.
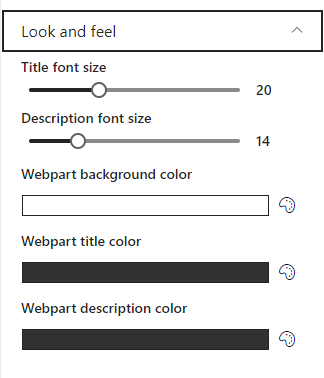
2. Look and feel
The “Look and Feel” section gives you control over the visual appearance of your content. Here, you can customize the font size of the title and description of your element. You can also assign colors to different parts of the webpart. Adjust the style according to your preferences to achieve an attractive and cohesive presentation.
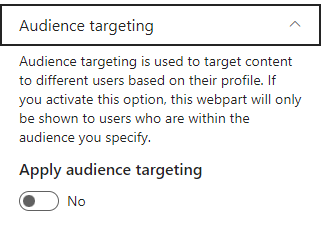
3. Audience targeting
The “Audience Targeting” functionality allows you to specifically direct your content to particular audiences. You can customize who sees the content, ensuring it reaches the right audience. This is particularly useful when you need to segment information for different groups within your organization. Link to Audiences article
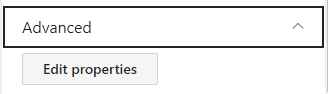
4. Advanced
The “Advanced” option is designed for advanced users seeking more detailed control over the internal properties of the elements. Here, you can modify more advanced settings to tailor performance and appearance to your specific needs. To do this, you need to click on the “Edit properties” button, and a window with the code to modify will open. Development knowledge is necessary for this.