Tour
Audience: This article is intended for community owners
Embark on a journey of seamless user guidance as we delve into the intricacies of step configuration within your tour.
Once added to the community page, editing is a breeze. Simply click on the pencil icon, and the configuration menu will unfold to the right.
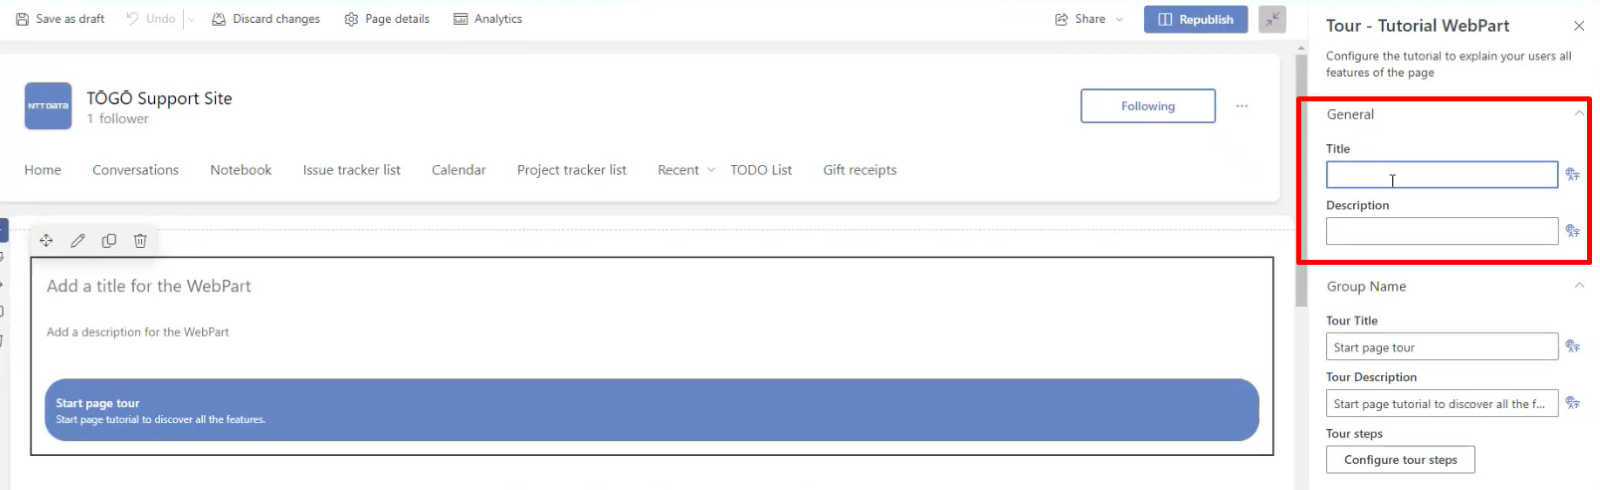
1. General Settings:
Begin by customizing the title and description, providing a name and context to the component. This option supports multiple languages and updates in real-time as you fill in the details, allowing you to observe changes as you work on them.
2. Group Name:

Through these fields, you can assign a name and description not to the webpart itself but to the tour. This is where you will also shape the various steps. To do so, click on “Configure tour steps.”
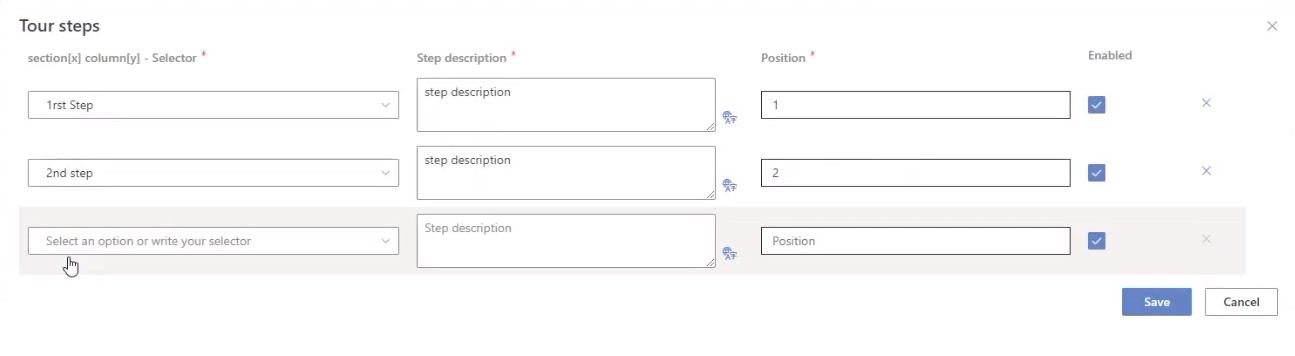
Once the configuration popup for steps is unleashed, you gain the ability to edit and complete each step with precision.
- Step Naming: The first column allows you to give a distinct name to each step, providing clarity in the guided journey.
- Short Description: In the “Short Description” column, you can input text containing information you wish to share. This field is multilingual, catering to a diverse audience.
- Positioning: Utilize the “Position” column to determine the order in which each element will be presented. This ensures a logical flow throughout the tour.
- Enable or Disable: The “Enabled” checkbox empowers you to activate or deactivate a particular step. This functionality proves handy during construction phases or when a step becomes irrelevant to the process.
- Save Your Guide: Once your comprehensive guide is in place, click on “Save” to preserve your configurations.
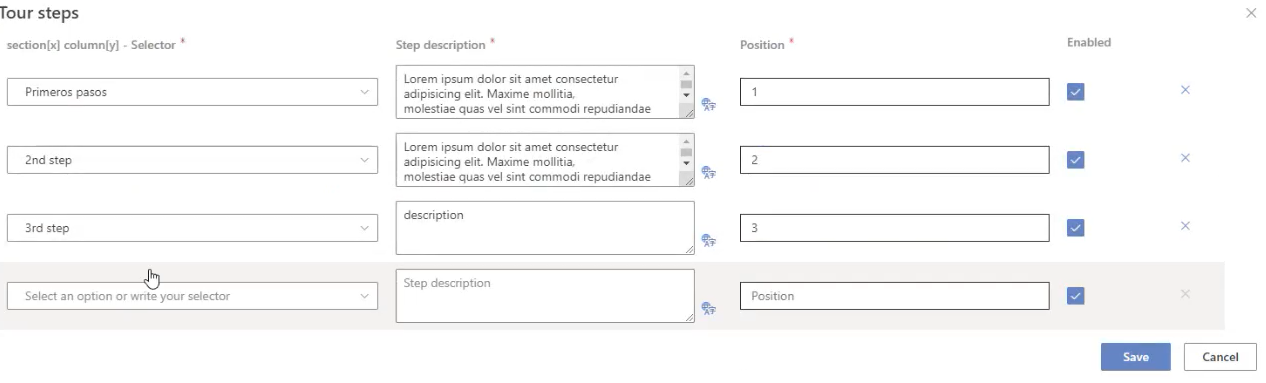
Importantly, there is no maximum limit to the number of steps you can add. If, after completing the initial three steps, you find the need for a fourth, the option to add a new one will appear when you revisit the editor. This flexibility ensures your tour remains adaptable to evolving processes and expanding information.
3. Look and Feel
Effortlessly adjust the font size of titles and descriptions while modifying the background colors of the web part, toolbar, title, and description to match your preferences.
4. Audience Targeting
Optimize your content delivery by utilizing audience targeting. By selecting specific groups, the web part will be visible only to those audiences. This ensures a more accurate and personalized experience for the right viewers. Learn more about Audiences [here].